Thursday, January 9, 2025
No menu items!
HomeLifestyleHow To Apply Foundation On Dry Skin For A Natural, Glowing Look:...

How To Apply Foundation On Dry Skin For A Natural, Glowing Look: Step-By-Step Guide

If your face appears pale or ashy after applying foundation, it could be a sign that your skin is dry. Dry skin can cause the foundation to settle unevenly, making the skin’s texture more noticeable and ruining the overall look. However, with the right application techniques, you can achieve a radiant, natural finish that doesn’t emphasise dryness. If you have dry skin, following these expert tips will ensure your foundation looks fresh, glowing, and flawless.

Step-by-Step Guide to Applying Foundation on Dry Skin

Before applying foundation, it’s crucial to cleanse and hydrate your skin properly. Start by washing your face with a gentle cleanser suited for dry skin, followed by a moisturiser to lock in hydration. The best way to ensure smooth, even application is to use a primer. Primers create a uniform skin texture, filling in fine lines and smoothing out dry patches, which helps the foundation adhere better and last longer.

Choose the Right Foundation

For dry skin, opt for hydrating or liquid foundations rather than matte formulas. Matte foundations can absorb moisture from the skin, emphasising dryness. A liquid foundation, on the other hand, provides more hydration and gives a dewy finish. Ensure the foundation you choose matches your skin tone for a natural, seamless look. Always test the shade on your jawline before buying to ensure the perfect match.

The Art of Blending

Blending is key to achieving a flawless foundation look. Use a beauty blender or a foundation brush to apply the product gently onto your skin. Dab the foundation onto your face in small amounts, then blend in circular motions to ensure an even distribution. This technique helps the product absorb better into the skin, avoiding patchy areas and streaks.

Layer for More Coverage

If you need additional coverage, it’s better to apply foundation in layers rather than piling it on in one go. Start with a light layer, blend thoroughly, and then add more as needed. This layering technique allows you to build coverage gradually while keeping the finish light and natural.

Concealing Blemishes and Dark Circles

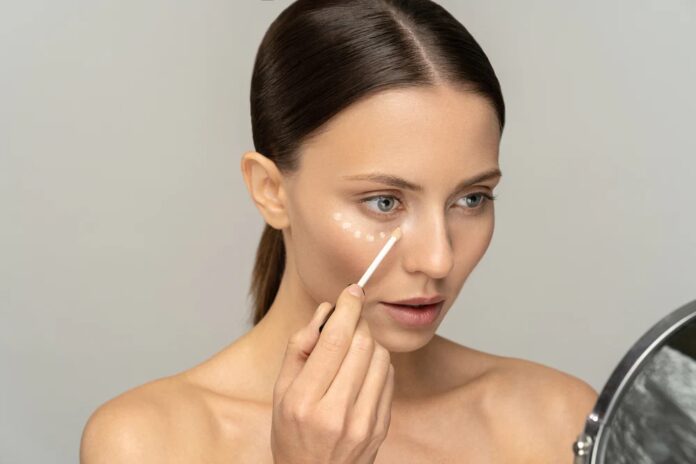
Once your foundation is blended, it’s time to conceal any blemishes or dark circles under the eyes. Use a concealer that matches your skin tone for blemishes and a peach or pink-toned concealer to reduce dark circles. Dab the concealer gently over the problem areas and blend well with your fingers or a brush.

Set with a Translucent Powder

To set your foundation and ensure it lasts throughout the day, lightly dust a translucent setting powder across your face. This will mattify the foundation and reduce shine, keeping your makeup intact for longer. However, during colder months, be cautious not to over-apply, as too much powder can contribute to dryness.

Finish with a Setting Spray

For a long-lasting finish, use a makeup setting spray. This will not only help your makeup stay put but also give your skin a healthy glow. Opt for a dewy or hydrating setting spray to add some extra moisture, especially if your skin is feeling a bit dry during the winter months.

Enhance with Highlighter and Bronzer

To add dimension to your face and bring out a natural radiance, use a highlighter and bronzer. Highlighter can be applied to the high points of your face, such as the cheekbones, brow bone, and down the centre of the nose. Bronzer can be used along the cheekbones and temples to give your face a sun-kissed glow.

RELATED ARTICLES

LEAVE A REPLY

Please enter your comment!
Please enter your name here

Most Popular

Recent Comments