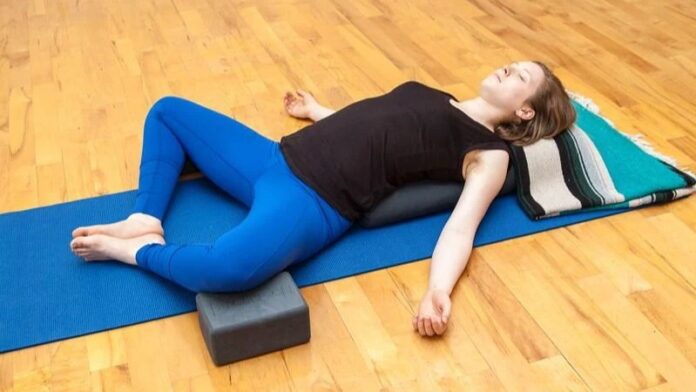
Lower back pain, often resulting from overuse, poor posture, or improper lifting, affects millions globally. This discomfort can be triggered by various factors, including long periods of sitting, uncomfortable sleeping positions, or even carrying an ill-fitting backpack.
Yoga offers a natural remedy for this ailment, and one effective pose to try is Baddha Konasana, also known as Cobbler’s Pose.
What is Cobbler’s Pose (Baddha Konasana)?
Cobbler’s Pose, or Baddha Konasana, is a seated yoga position where the soles of the feet are brought together, and the knees are allowed to drop outward. This pose mimics the traditional sitting posture of cobblers. Known for opening the hips and stretching the inner thighs, Baddha Konasana is a favorite for meditation and relaxation. This asana is particularly beneficial for its calming and restorative properties.
How does cobbler’s pose help with lower back pain?
Research published in the Journal of Orthopedics and Rheumatology in 2016 highlights yoga’s effectiveness in treating chronic lower back pain. Baddha Konasana stands out for several reasons:
Hip muscle stretch: This pose stretches the hip muscles, reducing tension and stiffness in the lower back.
Strengthens core muscles: It strengthens the lower abdomen and pelvic muscles, promoting better posture and relieving lower back pain.
Enhances flexibility: The flexibility gained in the hips and thighs from this pose helps reduce strain on the lower back.
How to perform cobbler’s pose?
Cobbler’s Pose is simple yet powerful, suitable for beginners and advanced practitioners alike. Follow these steps to practice this asana:
Starting position: Sit on a yoga mat with your legs extended straight in front of you. Keep your feet together, toes pointing upwards, and hands resting on the mat beside your body
Posture alignment: Maintain a straight neck, push your chest slightly forward, and keep your abdomen relaxed. Draw your chin inward and look straight ahead
Forming the pose: Bend your knees outward, bringing the soles of your feet together. Move your feet closer to your body, positioning the heels towards your perineum.
Hand placement: Clasp your feet with your hands if comfortable, bringing the heels close to your body. Alternatively, place your hands on your knees.
Deepening the stretch: Gently press your knees down towards the floor to enhance the stretch in your inner thighs and hips. Hold this position, breathing deeply and steadily.


