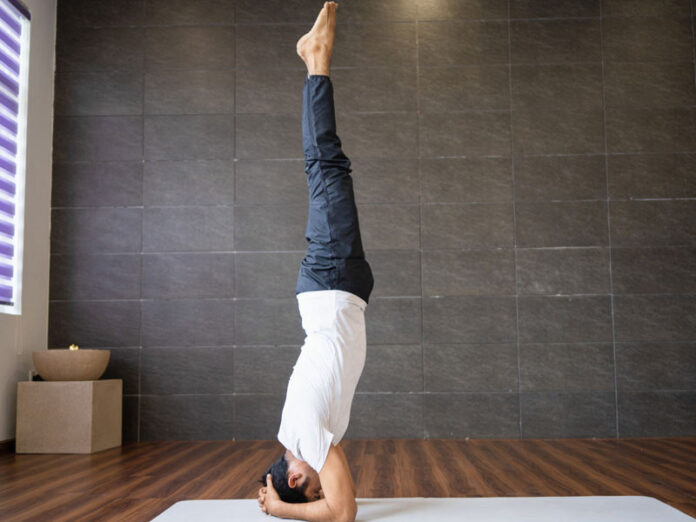
What makes Yoga a one-of-its-kind physical activity is that it has room for everyone. Whether you are a beginner or an advanced practitioner, there are tons of poses you can do. Many of those who practice it find ‘Sirsasana’, or headstand, as one of the toughest asanas (poses). And why not? A tough pose, it requires tremendous upper body strength, a flexible spine, and strong arms and shoulders. If not done correctly, it can seriously injure you. So, if you want to try this complex yet beneficial pose, we have broken down the whole exercise into smaller steps.
Benefits Of Sirsana (Headstand)
Before we look at the step-to-step guide, let’s know the benefits of doing headstand pose or Sirsasana. As per spiritual guru Sri Sri Ravi Shankar’s ‘Art of Living’ mission:
- Sirsana strengthens the neck, shoulders, arms, spine, and abdomen.
- It improves blood circulation in the scalp.
- It can help relieve headaches.
- Induces relaxation, thus helping with stress management.
Hence, the benefits of this pose stretch across the body and the mind.
Things To Remember Before Doing Sirsana
Before attempting the headstand pose, ensure the following:
- It’s better if you do this pose under the guidance of an instructor.
- Avoid this pose if you are on your periods.
- This pose exerts pressure on the neck and shoulders. Hence, if you have cervical, it’s better to avoid this pose.
- Do it near a wall so that if you lose balance, you have fewer chances of getting hurt.
- It’s a tough pose, so have patience.
- Do not hold your breath while doing this pose.
Steps For Doing Headstand Pose (Sirsana)
Here’s the step-by-step guide on doing Sirsasana (headstand pose):
- Place your Yoga mat close to a wall.
- Start on your all fours (table-top pose) with palms under your shoulders and knees under your hips.
- Bring your forearms down such that your elbows are beneath your shoulders.
- Next, clasp the fingers of both the palms to form an inverted V.
- Now we begin coming into the headstand pose. Bring the crown of your head near your clasped palms.
- Next, straighten both your legs as you do in the downward-facing dog pose.
- Start taking steps towards your head.
- You’ll reach a point when your feet won’t go any forward and will themselves start lifting off the chest.
- Lift one leg off the ground, then another.
- Next, straighten one leg and then another.
This is your headstand pose. Stay here for a few breaths. Since you are in a complex pose, come out of it very gently without putting any pressure on your neck. So, first, bend your knees such that the thighs become parallel to the floor. Lower one leg and then the other. Unclasp your palms and gently lower in the child’s pose. Although a complex pose, with effort and patience, you can do this pose with some practice.


